



So you bought an off-road electric bike and you're ready for your first camping trip — but now you're staring at a pile of gear, wondering what actually needs to come with you and what's just going to weigh the bike down.
The right gear can turn that trip from a difficult hauling exercise into a well-organized outdoor escape. A motor helps with hills and added weight, but it does not decide where the tent should go, keep rain out of a pannier, repair a flat tire, or make a poorly balanced bike easier to control.
That is why a useful camping setup should be built as a system rather than a shopping list. Some accessories stay on the bike for almost every trip. Others depend on whether you are riding to a developed campground, following remote forest roads, camping in cold weather, or carrying fishing and hunting equipment.
This guide explains the essential items for an off-road ebike camping adventure, how their importance changes across different scenarios, and how to carry them without compromising control or safety.
- Begin With the Ebike’s Carrying System
- Choose Accessories Around the Camping Scenario
- Repair Accessories Every Off-Road Rider Should Consider
- Power, Electronics, and Security Accessories
- The Velotric Nomad 2X as an Adventure Platform
- Final Off-Road Camping Gear Check
- Build the Setup Around the Adventure
Begin With the Ebike’s Carrying System
Before choosing camping equipment, decide how the off-road ebike will carry it. Wearing a heavy backpack for several hours can add pressure on the shoulders. Moving most of that weight onto the bike can improve comfort, but only when the rack, bags, and load are compatible.
Rear Rack
A rear rack creates the foundation for panniers, a rack-top bag, or other compatible cargo accessories. Check both the bike’s total payload rating and the rack’s separate load limit. The lower applicable limit should guide the setup.
Do not assume that a large rack can safely carry any object that physically fits. Weight should be secured against movement, kept away from the wheel, and distributed so the front of the bike still feels planted while climbing or turning.
Pannier Bags
Side panniers keep weight lower than a tall stack placed on top of the rack. They work well for food, cooking equipment, clothing, repair supplies, and other dense items.

For off-road use, look for secure mounting hardware and enough structure to prevent a loaded bag from swinging toward the spokes or brake rotor. Water-resistant materials are helpful, but clothing, electronics, and sleeping gear should still be protected in dry bags or sealed liners. The Velotric Rear Rack Pannier Bag is one option for compatible Velotric models. Confirm model compatibility and the complete mounting setup before purchasing.
Rack-Top Bag
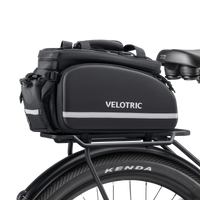
A rack-top bag is convenient for items that need to remain accessible, including a rain jacket, gloves, lunch, first-aid supplies, or a compact camera. Some designs include expandable side panels, allowing the bag to serve as a small pannier system when additional capacity is needed. The Velotric Rack Top Bag provides 25 liters of capacity and expandable side storage for compatible models. It can work well for shorter trips where full-size panniers would add unnecessary bulk.
Front Basket or Handlebar Bag
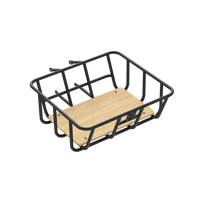
Front storage can balance a rear-heavy setup and keep lightweight essentials within reach. Good candidates include snacks, a map, sunglasses, a small camera, and a compact layer.
Avoid putting too much weight on the handlebars. Heavy front cargo can slow steering and make the bike harder to correct on rutted or loose ground. A basket or handlebar bag should also leave the headlight, brake cables, display, and controls unobstructed.
Trailer
A compatible trailer can make sense for bulky equipment, hunting gear, fishing equipment, or trips where a tent and sleep system are too large for normal bags. It also creates new challenges. Turning radius increases, braking distance becomes longer, and narrow trails or barriers may become impassable.
Choose Accessories Around the Camping Scenario
Not every trip needs the same setup. Carrying equipment “just in case” can make the bike harder to handle while consuming battery faster.
| Camping scenario | Highest-priority accessories | What can usually stay minimal |
|---|---|---|
| Developed campground | Rack bag or panniers, lock, charger, fenders, lights | Extensive water treatment and remote communication gear |
| Forest-road overnight | Panniers, repair kit, offline navigation, water filter, rain protection | Large cooking setup and extra comfort items |
| Remote multi-day trip | Expanded storage, battery plan, satellite communication, spare parts, first aid | Nonessential electronics and bulky convenience gear |
| Rainy or muddy trip | Full-coverage fenders, dry bags, waterproof covers, chain care supplies | Open baskets for unprotected items |
| Cold-weather camping | Insulated sleep system, warm battery storage plan, gloves, larger range reserve | Lightweight summer-only sleep equipment |
| Hunting or fishing base camp | Heavy-duty rack or trailer, secure equipment mounts, low-profile storage, cleaning supplies | Lightweight urban bags with weak attachment points |
This scenario-based approach helps separate essential equipment from items that are useful only for a specific route or season.
Setup One: Developed Campground Weekend
A developed campground is the easiest place to begin ebike camping. The route may be mostly paved or gravel, potable water may be available, and assistance may be closer if something goes wrong.
The most useful accessories are usually:
- A rack-top bag or small panniers
- A strong lock
- Front and rear lights
- Full-coverage fenders if rain is possible
- A phone mount or simple navigation system
- The approved battery charger
- A compact repair kit
Because campground outlets are not guaranteed, contact the site in advance rather than assuming you can recharge. Ask whether tent campers can use an outlet and whether charging must take place in a designated area.
Security also deserves more attention at a busy campground than riders sometimes expect. Lock the frame to a fixed object where permitted and secure removable items. Do not rely only on an electronic tracking feature.
Setup Two: Forest Roads and Light Backcountry Routes
Forest roads may appear gentle on a map but can include washboard surfaces, loose gravel, mud, fallen branches, and long distances without services. Bags and mounts need to remain stable through repeated vibration.
Add the following items to the basic setup:
- Panniers with secure lower attachment points
- Tire plugs or a spare tube appropriate for the tire system
- High-volume pump suitable for larger tires
- Chain quick link and compact drivetrain tools
- Offline maps and a backup navigation method
- Water filter or purification system
- Emergency food and an insulating layer
- Compact first-aid and emergency shelter supplies
After the first few miles, stop and inspect every attachment. Straps can loosen as a load settles, and a bag that seemed secure at home may move after repeated bumps.
Setup Three: Remote or Multi-Day Adventure
A remote trip requires more redundancy, but redundancy should be deliberate. Two reliable ways to start a fire or purify water can be useful. Three heavy cooking pots usually are not.
Prioritize:
- Satellite communicator or personal locator device where cell service is unreliable
- Additional repair parts specific to the bike
- More complete first-aid supplies
- Water treatment plus sufficient carrying capacity
- Verified charging plan or compatible spare battery
- Battery bag with secure, protected storage
- Printed route notes and emergency exit points
- Food storage appropriate to local wildlife rules
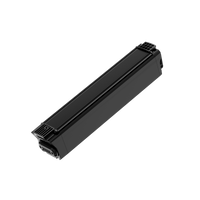
The Velotric Rack Battery Bag is designed to carry one or two compatible batteries and provides 33 liters of total capacity, including expandable pannier storage. Because spare ebike batteries are heavy, they must be secured against movement and included in the bike’s total payload calculation.
A second battery can extend a trip, but it should not replace conservative route planning. Wind, cold, soft terrain, and mechanical delays can still affect whether the rider reaches the next stop safely.
Setup Four: Rain, Mud, and Changing Weather
Weather protection should work for both the rider and the equipment. A waterproof jacket is not enough if the sleeping bag becomes soaked inside a poorly sealed pannier.
Useful additions include:
- Full-coverage front and rear fenders
- Dry bags or waterproof pannier liners
- Rain cover for exposed cargo
- Waterproof phone or map protection
- Clear riding glasses
- Spare dry base layer and socks
- Small cloth and chain lubricant for post-ride maintenance
- Compact tarp for shelter or gear organization
Fenders reduce spray from the tires, helping protect the rider, bags, drivetrain, and battery area. They do not keep the entire bike clean. After riding through mud or road grit, inspect the chain, brake rotors, charging port, and bag attachments.
Do not wrap the battery or electrical components in a way that traps heat or interferes with the bike’s intended ventilation. Follow the manufacturer’s care and water-exposure instructions.
Setup Five: Cold-Weather and Snow Camping
Cold-weather riding places greater demands on clothing, sleep equipment, traction, and battery planning. A fat tire ebike can offer useful flotation and stability on some packed snow or soft surfaces, but ordinary fat tires are not automatically suitable for ice.
Consider adding:
- Winter-specific or studded tires when appropriate
- Insulated gloves with enough dexterity for braking
- Wind-resistant outer layers
- Goggles or protective glasses
- More substantial sleeping bag and pad
- Insulated water storage
- Additional lighting for shorter days
- Larger battery reserve
A removable battery can be stored in a dry, moderate environment when the bike is not being used. Follow the manufacturer’s temperature guidance, particularly before charging a battery that has been exposed to extreme cold.
Know when to change the plan. Black ice, deep snow, frozen ruts, and rapidly falling temperatures may exceed the safe operating conditions of the bike or rider.
Setup Six: Hunting, Fishing, and Equipment-Heavy Trips
Hunting and fishing trips often involve unusual equipment shapes, heavier loads, and travel during darker hours. Standard soft bags may not be sufficient for long tools, waders, tackle, or other specialized items.
Depending on the activity, useful accessories may include:
- Compatible trailer or heavy-duty rack system
- Purpose-built equipment mounts
- Panniers with reinforced attachment points
- Waterproof storage for tackle, clothing, and optics
- Additional tie-down straps with protected contact points
- Headlamp and backup bike light
- High-visibility equipment for travel near roads
- Cleaning materials for mud, water, or biological debris
Never improvise a mount that places equipment near the wheels, pedals, chain, brake rotors, or rider’s legs. Firearms, bows, knives, and fishing equipment should be transported according to applicable laws and land-management rules.
Low-profile riding features may be useful while scouting, but visibility takes priority whenever the route is shared with vehicles or other riders.
Repair Accessories Every Off-Road Rider Should Consider
A city flat may be an inconvenience. A flat several miles down a forest road can become the main event of the trip. Build the repair kit around the actual bike:
- Correct tube size or tubeless repair plugs
- Tire levers suitable for the tire and rim
- Pump capable of reaching the required tire volume and pressure
- Multitool with the correct fastener sizes
- Spare chain quick link
- Small adjustable wrench if the bike uses axle nuts
- Spare derailleur hanger for longer remote trips
- Zip ties and strong repair tape
- Compact rag and disposable gloves
- Manufacturer or roadside-assistance contact details
Hub-motor wheels can be more complicated to remove than conventional bicycle wheels. Practice the process before the trip and avoid disconnecting electrical components unless the manufacturer’s instructions support it.
A repair kit is only valuable when the rider knows how to use it. A loaded test ride is a good time to practice inflation, wheel access, and bag removal.
Power, Electronics, and Security Accessories
Battery planning, navigation, visibility, and theft protection are closely connected during an off-road camping trip. Use this table to choose the items that match the route and the places where the bike will be stored.
| Accessory | Why it matters | How to use or pack it |
|---|---|---|
| Approved charger | Provides the safest and most reliable way to recharge the ebike battery | Pack it in a padded, dry compartment away from cookware, loose tools, and moisture. Confirm outlet access before the trip. |
| Compatible spare battery | Extends range on longer routes without dependable charging | Protect the terminals, secure the battery against movement, and include its weight in the bike’s total payload calculation. |
| USB power bank | Keeps a phone, headlamp, GPS device, or satellite communicator operating | Store it in a waterproof pouch. Do not treat it as a realistic substitute for an ebike battery charger. |
| Phone or GPS mount | Keeps navigation visible without repeated stops | Position it where it does not block the display, headlight, brake hoses, or controls. Download an offline map before departure. |
| Backup light or headlamp | Provides light for repairs, campsite tasks, and unexpected delays | Keep it accessible rather than buried at the bottom of a pannier. Check its battery before leaving. |
| Strong bike lock | Helps protect the bike at campgrounds, trailheads, fishing access points, and roadside stops | Lock the frame to a fixed object where permitted and include at least one wheel when practical. Balance security against the lock’s weight. |
| Removable-component storage | Protects valuable parts when the bike is left unattended | Remove the battery or display only when recommended by the manufacturer and when secure, dry storage is available. |
| Electronic tracking | May help locate the bike if it is moved or stolen | Use tracking as a secondary layer. It does not replace a physical lock or careful parking location. |
| Waterproof valuables pouch | Keeps identification, medication, keys, and small electronics together | Carry it with you rather than leaving it attached to the bike. Keep spare keys separate from the main key set. |
Remote does not automatically mean theft-free. Choose the security setup according to how long the bike will be unattended, who may access the area, and how much lock weight the trip can reasonably accommodate.
The Velotric Nomad 2X as an Adventure Platform
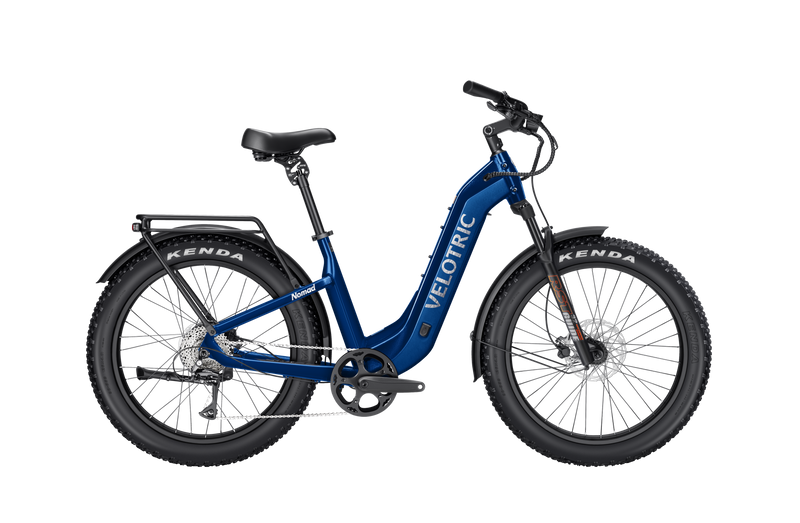
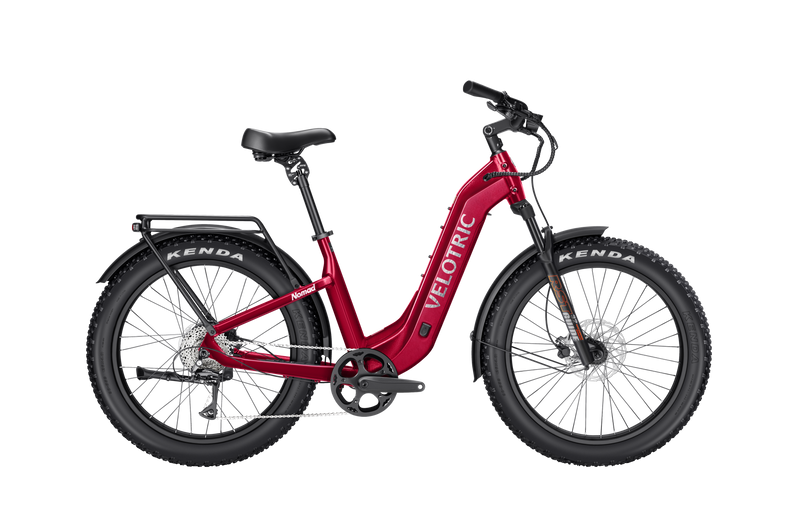
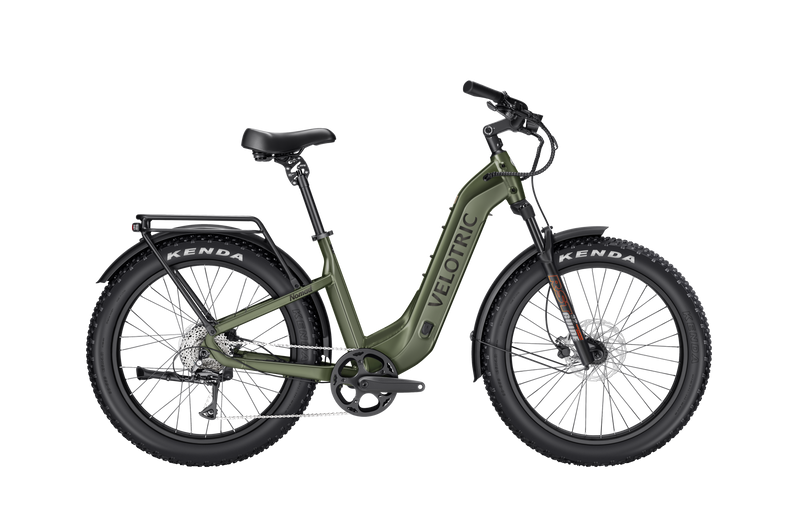
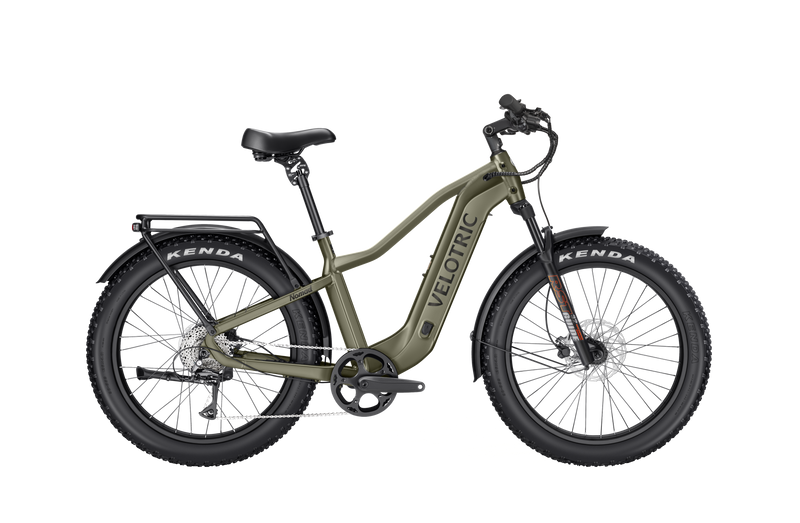
The Velotric Nomad 2X provides a strong base for riders whose camping trips involve loose surfaces, rough roads, and more equipment than a lightweight touring setup can comfortably carry.

Its integrated rear rack is rated for 120 pounds, while the bike supports up to 560 pounds of total payload. The rack is compatible with MIK HD accessories, and the bike arrives with full-coverage fenders already installed. Riders still need to check the ratings and compatibility of every bag, basket, rack adapter, mount, and trailer used in the complete setup.

The 750W motor delivers 105 Nm of torque and up to 1,400W of peak power to assist with loaded starts and climbs. Four-inch puncture-resistant tires and full air suspension, including 120 mm of front travel and 80 mm of rear-wheel travel, help manage gravel, forest roads, sand, snow, and other uneven recreational surfaces.
Up to 75 miles of stated pedal-assist range provides flexibility for route planning, but camping gear, terrain, weather, tire pressure, and assistance level can reduce real-world distance. A loaded test ride remains essential.

Nomad 2X weighs 80 pounds before cargo is added. That makes careful packing and a no-power recovery plan especially important. Its value is not that it eliminates equipment decisions, but that it gives riders a capable platform on which to build a stable, terrain-appropriate camping setup.
Final Off-Road Camping Gear Check
Before departure, confirm that you have the equipment needed for the specific route rather than every item mentioned in this guide.
Bike and Cargo
- Rack, bags, mounts, and trailer compatibility confirmed
- Total and rack payload limits checked
- Load balanced and secured
- Tire and suspension settings adjusted for added weight
- No straps or bags near moving components
Repair and Power
- Correct flat-repair supplies and tools
- Approved charger and verified charging plan
- Battery secured and charging port protected
- Navigation devices and backup power charged
- Backup light accessible
Camping and Safety
- Shelter and sleep system appropriate to conditions
- Water storage and treatment plan
- First-aid kit and personal medication
- Food storage appropriate to local wildlife rules
- Lock and key
- Offline route, emergency exits, and communication plan
Complete a fully loaded test ride that includes braking, climbing, tight turns, pushing, and parking. Adjust the setup before the trip if the front wheel feels light, the bags move, or the bike is difficult to stop confidently.
Build the Setup Around the Adventure
The best off-road ebike camping accessories are not necessarily the largest or most expensive ones. They are the items that solve a real problem on the route without creating unnecessary weight or instability.
A developed campground may require little more than a rack bag, lock, lights, and charger. A remote forest-road trip may justify panniers, more complete repair supplies, water treatment, satellite communication, and a carefully secured spare battery. Cold weather, rain, hunting, and fishing each create their own equipment priorities.
Start with the bike’s carrying system, add gear for the actual conditions, and test everything under load. A modular setup makes it easier to prepare for different adventures without turning every camping trip into an expedition.