Your bike chain is an important component of your ebike, as it’s responsible for transferring the power from your bike pedals to the ebike’s drivetrain — the part that propels it forward. If the bicycle chain slips, that power won’t get transferred, and your hard work pedaling will be for nothing!
Is your bike chain slipping repeatedly? Read on for a list of possible reasons and solutions.
Common reasons and fixes for bike chain slipping
When bike chain issues strike, diagnosing the problem is the first step. Below, we round up some of the most common reasons your bike chain might slip, how to tell if this is the cause, and what it takes to fix the issue.
Worn chain
A worn chain is part of any e-bike’s aging process and, unfortunately, unavoidable. Chains stretch over time, which makes them more likely to slip, as the excessive chain length will result in dropped chains.
You can use a chain checker tool to see if this is the issue. Place the tool on top of your chain. The tool will “drop” into the chain links if the chain is worn. If the chain is OK, the tool will sit on top.
The fix: replacing the chain
In this case, you’ll need to replace the chain. First, you’ll need a new chain that meets your ebike’s compatibility criteria. You’ll then need a replacement pin or master chain link — the final piece that joins the two ends of the chain once it’s in place.
For a chain with standard links, use a chain tool to remove the old pin and break the old chain apart to remove it. Master link pliers can help. This process can be complicated, so we recommend going to a bike shop for help.

Loose or worn cassette
If your bike chain isn’t worn — or you’ve just replaced it — and you’re still experiencing bike chain slipping, a worn cassette might be to blame. Changes in the tooth or cog shape are usually a sign your cassette needs replacing. You may also notice your bike chain skipping under pressure.
Replacing your cassette is important, or it can damage your chain. It goes the other way: A worn chain will wear out your cassette and chainrings. Note that replacing a chain is cheaper than a cassette, so always start with the chain!
The fix: replacing the cassette
Again, this is a somewhat complex process best left to a bike pro, especially regarding e-bikes. However, you can DIY it with the right tools and technical prowess.
You’ll need a chain whip, cassette lockring tool, torque wrench, and grease. First, shift the chain into the smallest cassette cog. Then, open the quick release and remove the rear wheel. You can then loosen the lockring to remove the cassette.
While the cassette is removed, clean your freehub and add a light coating of grease. Finally, install the new cassette, lining up the spines. Finish by fitting the lockring in front of the cassette and screwing it into place.
Bent or worn derailleur
The derailleur moves your bike chain from one sprocket to the next to shift gears. Shift cables control the derailleurs. When you switch gears, cable tension is applied to the derailleurs, moving the chain between sprockets. The derailleur is contained by limit screws, which tell it when to stop and prevent chain slipping.
If the derailleur is bent or worn, the bike chain may slip and fail to shift gears properly. You may also experience a sudden bump or notice increased pressure when pedaling.
The fix: adjusting the derailleur
If you suspect a derailleur is to blame for your bike chain slipping, start by visually inspecting it. To check if the rear derailleur is in alignment, look at the e-bike’s rear wheel.
You can realign the rear derailleur by rotating the nut that connects the shifter cable to the derailleur. Screwing the nut clockwise or counterclockwise will move the pulley up or down. You may need a new derailleur if this doesn’t fix the issue.
Alternatively, the front derailleur might be the problem. It should be positioned over the outermost chainring, with a distance of about 2 millimeters (mm) between the derailleur’s outer cage and the chainring.
To realign the front derailleur, loosen the bolt that holds the derailleur into the bike frame. It’s located opposite the seat tube (what the saddle is mounted on). You can reposition the derailleur, so it’s the right distance from the outer chainring.
Dirty or greasy chain
Over time, dirt, pollen, dust, and other grime can build up on the bike chain. A dirty bike chain is especially likely when riding in tough outdoor conditions and on unpaved roads — for example if you’re mountain biking on dirt paths.
You can inspect your bike chain for signs of dirt and debris. Another common indicator that your bike chain needs cleaning is bike chain skipping, resulting in a jerkier ride.
The fix: cleaning and lubricating the chain
Clean and lubricate your bike chain regularly — if you’re a regular cyclist, once a week. If you ride rarely, monthly is OK. Mountain bikers may want to clean their MTB bike chain after every ride.
To clean the bike chain, wipe it down with a clean, lint-free cloth. Then, apply a bike chain lube. This reduces friction between the moving parts and keeps the chain from getting brittle, which can increase the risk of breakage and prevents rust.
Misaligned gears
If the chain keeps slipping and none of the above issues are to blame, gears might be misaligned. The gear cables can stretch with time, causing misalignment, so the gears aren’t properly “indexed.”
When bike gears are aligned, they should fall into place easily with one click. If your gears don’t shift up and down with one click, it may be time to re-index them.

The fix: realigning gears
To index bike gears, start by shifting the front derailleur into the smallest ring and winding the rear barrel adjuster clockwise to release the cable mount bolt. Keep the bike chain running in the second-smallest cog and pull the shifter cable tight and secure it with the retention bolt.
Then, pedal gently and push the derailleur until the chain moves to the second-smallest cog. Stop pedaling, tighten the shifter cable, and re-fasten the retention bolt. Pedal again, and the chain should revert to the smallest cog.
Poor shifting technique
If all the mechanical components above are in order and your bike chain is still slipping, it might be due to your shifting technique. Shifting gears on an e-bike differs slightly from shifting on a traditional bike. We explain below.
The fix: learning proper shifting technique
First, never shift while standing still on an e-bike. Always shift before you stop. When pedaling and preparing to shift, ensure you aren’t going at maximum speed — the chainring may come off if you’re pedaling too hard.
Finally, only shift one gear at a time, and make sure you’re using the right gear for the terrain you’re on. Lower gears are better for climbing inclines, while high gears are good for accelerating and descending inclines. Middle gears are best for cruising.
How to prevent your bike chain from slipping
A slipped bike chain can ruin an entire day of cycling — the last thing you want when looking forward to an e-bike ride! Ideally, you’ll avoid bike chain problems completely. Here are some things you can do to minimize issues:
- Regular maintenance of the bike. Maintaining drivetrain components can help keep your bike in good working order and prevent slipping. Our ebike maintenance checklist covers the essentials. You should also take your e-bike in for a tuneup at your local bike shop at least once per year.
- Proper use of the gears. Knowing what type of gears your e-bike has and how to use them can prevent needless damage. We discussed how to shift gears on an e-bike. Learn more about ebike gears.
- Correct bike fit. Avoid putting excess pressure on your bike by getting it fitted for your body, for example, by adjusting the seat and handlebars to your size. Discover the basics of bike frames and fitting.
Get out on the trails with an ebike from Velotric
Your bike chain is an essential e-bike component. You can avoid problems and keep cycling without issues by caring for the bike chain. This should be part of any cyclist’s e-bike maintenance plan, ensuring you can safely and confidently ride.
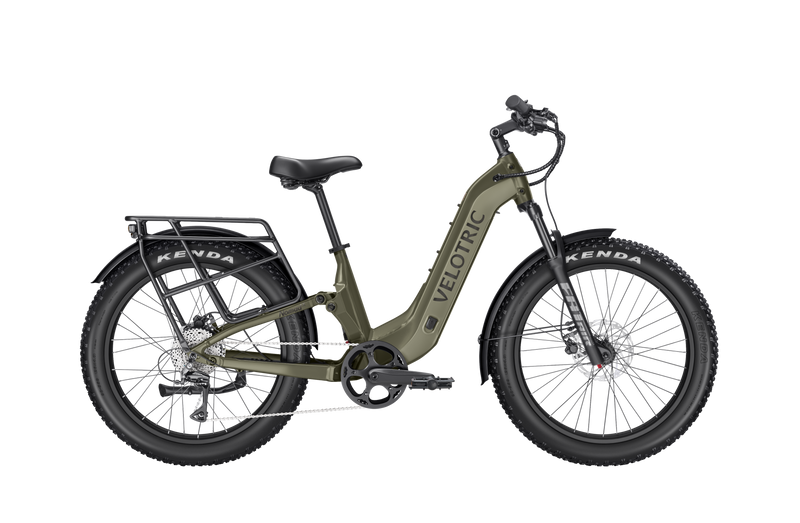
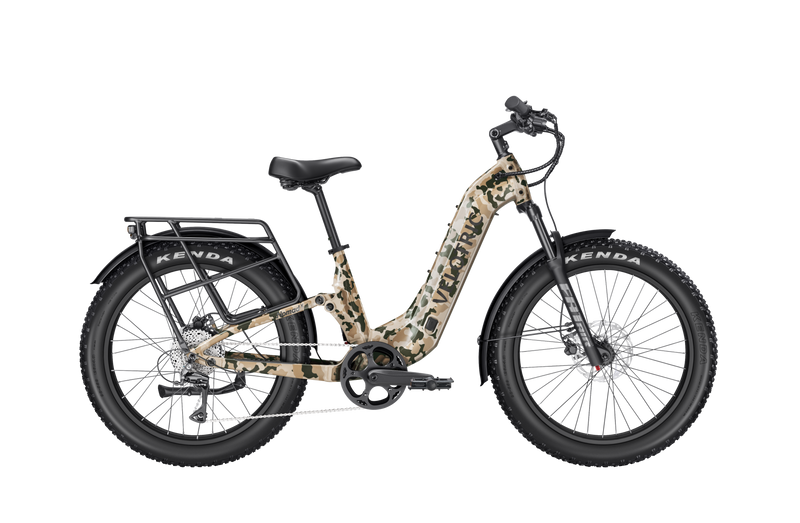
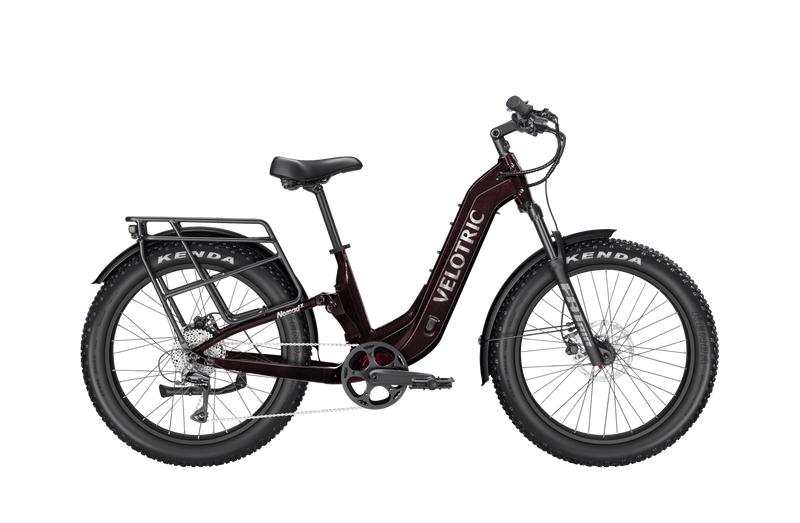
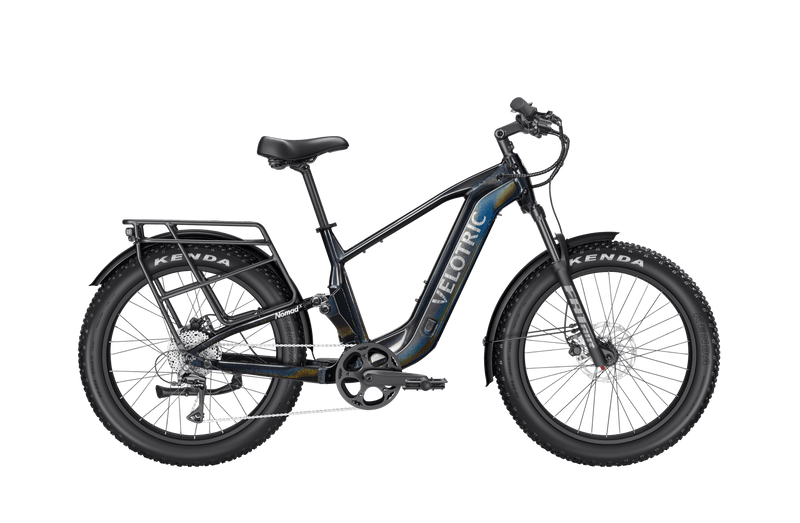
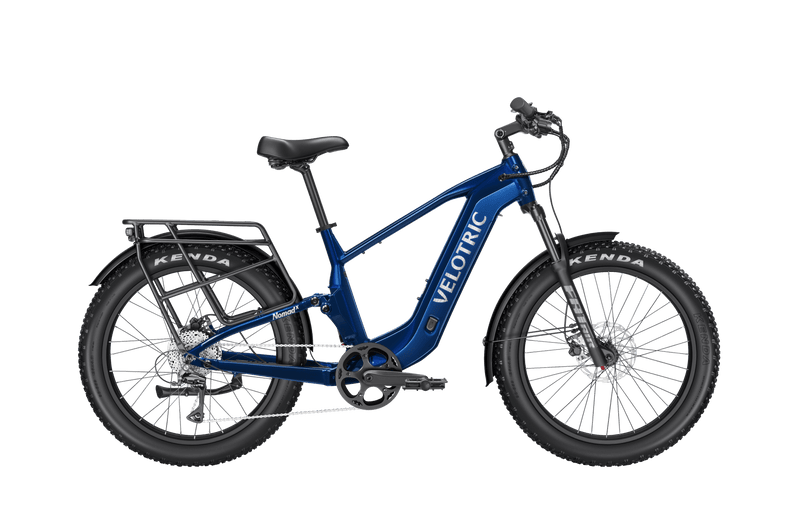
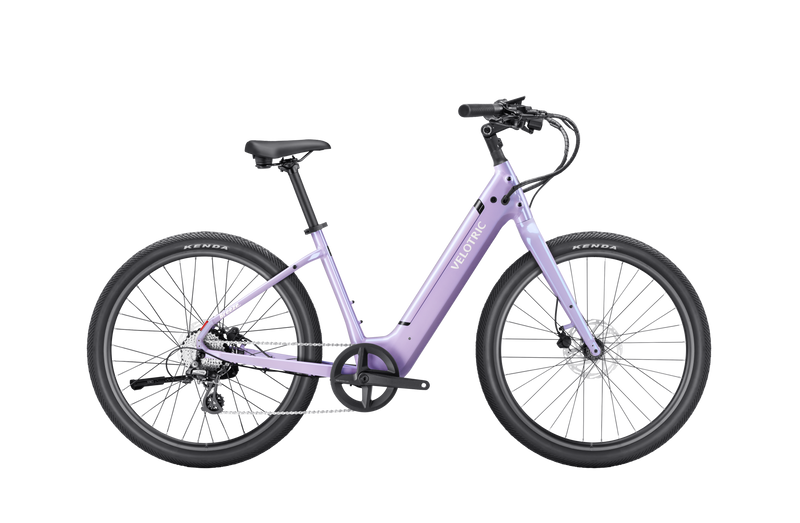
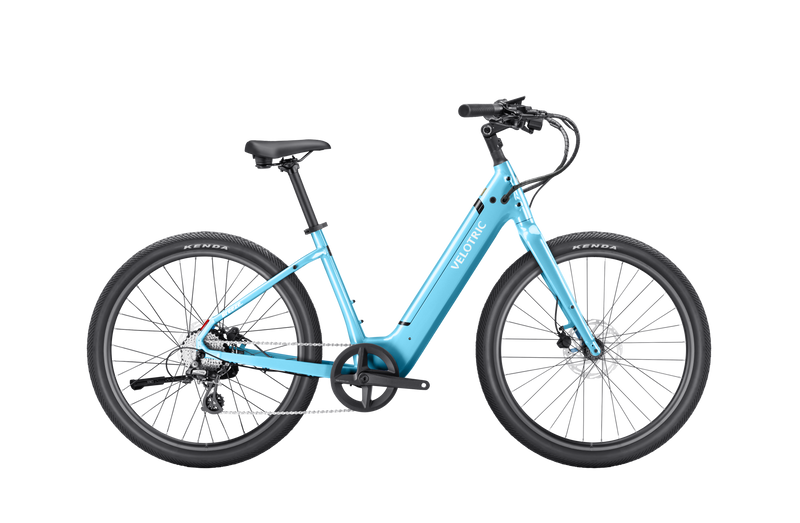
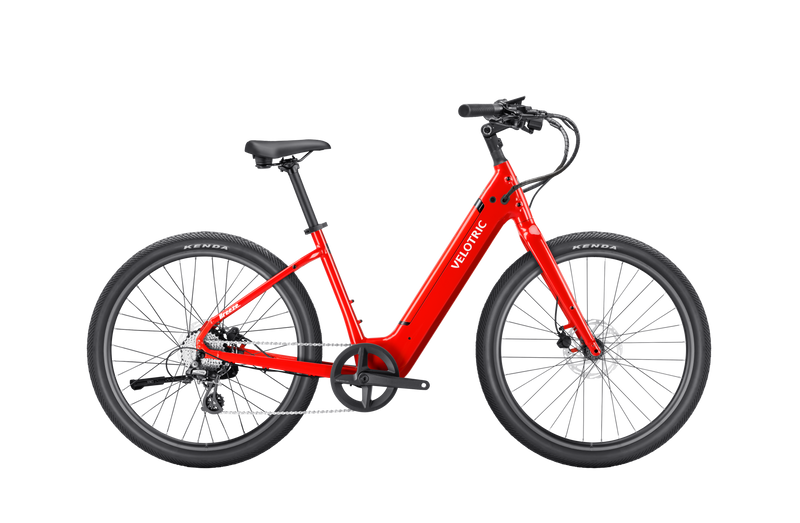
Of course, maintenance can only go so far. If your e-bike drivetrain is slipping frequently, check out the Discover 2 Coummter Ebike or Nomad 2X Fat Tire Ebike, both built with Shimano 8-speed systems designed for smooth, reliable shifting.


