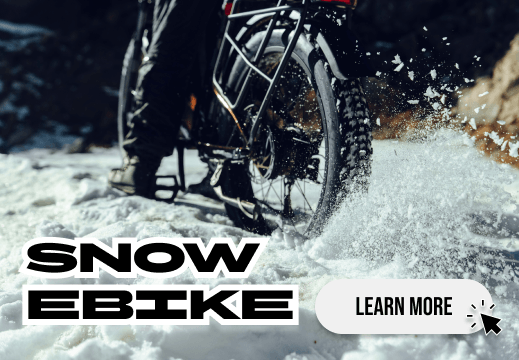





Snow biking can turn a familiar route into a completely different ride. An electric bike can help with pedaling effort, but snow, ice, cold temperatures, and road salt change how you should prepare, ride, and care for it.
You can ride some ebikes in manageable snow conditions, provided your bike's instructions permit the conditions and your tires, equipment, and experience are appropriate. Start with short rides on predictable surfaces. Freezing rain, widespread ice, deep snow, or poor visibility are reasons to postpone the trip.
This guide covers choosing an ebike for snow, controlling assistance, protecting your battery, and maintaining an electric bike in winter.
Before You Ride: Snow and Ice Require Different Decisions
A dusting of snow on a clear path is different from snow hiding a sheet of ice. Assess the surface along the whole route, including your return trip.
| Surface | Main concern | How to respond |
|---|---|---|
| Light snow over a firm surface | Changing grip and hidden obstacles | Use suitable tread, low assistance, and a short, familiar route. |
| Compacted snow | Polished sections can become slippery | Check for ice; slow down before turns and descents. |
| Slush | Ruts, spray, and hidden potholes | Avoid deep ruts and puddles; choose a clearer route. |
| Ice or freezing rain | Very limited traction | Postpone riding when possible. Studded tires improve ice grip but do not remove the risk. |
| Deep or drifting snow | Loss of steering and high pedaling resistance | Turn back if you cannot steer or maintain controlled progress. |
Watch shaded corners, bridges, and places where water collects. These can remain icy after nearby pavement has thawed. Air temperature alone does not tell you whether the ground is frozen.
The best snow electric bike10 Tips for Riding an Ebike in Snow
1. Choose Tires for the Surface You Expect
For loose snow, a fat tire ebike can offer a larger footprint and help spread the rider and bike's weight. That makes a winter fat bike worth considering for suitable snowy paths. For mostly cleared pavement, a compatible winter tire may be more useful than simply choosing the widest tire available.

Ice calls for a different approach: metal studs can bite into icy surfaces where ordinary rubber tread struggles. Check tire size, rim compatibility, frame and fender clearance, load rating, and suitability for your ebike's assisted speed before replacing tires.
Follow the tire maker's break-in instructions. For example, Schwalbe recommends about 40 kilometers of gentle asphalt riding to seat its studs. This is not a universal instruction for every winter tire. Studs also don't solve the resistance and steering problems of deep snow.
2. Check Tire Pressure Outdoors
Check pressure with a gauge before riding, ideally after the tires have adjusted to outdoor temperatures. Cold conditions can change the pressure you measured in a warm garage.
A modest reduction may help a suitable tire conform to snow, but stay within the tire and rim manufacturer's limits and account for rider weight and cargo. There is no single winter PSI that works for every bicycle.
Too little pressure can cause unstable handling, tire damage, or pinch flats. If your steering feels vague or the tire folds during turns, stop and reassess the setup. Lower pressure is not a substitute for studs on ice.
3. Start With Low Assistance and Smooth Pedaling
Motor assistance makes it easier to get moving, but a sudden burst of power can spin the rear wheel. Select a low assist level and an easy gear before starting. Pedal gently, then increase assistance only when traction is consistent.
Avoid abrupt throttle inputs, especially while turning or starting uphill. If the rear wheel spins, reduce power rather than adding more. Try starts and stops on a flat, open area before joining a road or trail.

For your first winter outing, make smooth control the goal. An ebike that feels familiar in summer can respond differently when the tires have less grip.
4. Slow Down Before Braking or Turning
Allow more time and distance to stop. On a surface with usable grip, apply the brakes progressively and avoid locking either wheel. Slow down before a turn, then steer gently through it.
Keep your arms relaxed and your body balanced over the bike. Avoid sudden steering, hard acceleration, or heavy braking on a slippery patch. Do not assume powerful hydraulic brakes can overcome a lack of tire traction.
If an icy section is visible ahead, stop while you still have grip and choose another route. Dismount only where it is safe to do so; ice can also be hazardous on foot.
5. Plan a Shorter Route and an Easy Return
For bicycle riding in winter, choose a route based on maintenance, exposure, and escape options—not just distance. A familiar path may be unplowed, shaded, or narrowed by snowbanks.

Our suggested first ride is a short loop near home with few intersections and no demanding descents. Leave extra time so you do not feel pressured to rush back.
For winter mountain biking, check the trail operator's current conditions, ebike access rules, and seasonal closures before leaving. A trail open in summer may be unsuitable in winter. Turn around if snow hides the riding line or conditions worsen.
6. Start With a Warm Battery and Budget for Less Range
Cold weather can temporarily reduce a lithium-ion battery's available output. Snow resistance, climbing, and higher assistance can further shorten your ride. A summer range estimate is not a reliable winter trip budget.
Keep a removable battery in an appropriate dry, temperature-controlled location before departure, then install it shortly before riding. Plan a shorter trip with a generous return reserve. Use your own recent rides in similar conditions to refine the estimate rather than applying a universal percentage loss.
A battery cover may help slow cooling if the bike manufacturer approves it, but it does not make extreme temperatures acceptable. Do not use improvised heaters, hot water, or direct heat to warm a battery.
7. Let the Battery Warm Up Before Charging
After a cold ride, let the battery return naturally to the permitted charging temperature. Check that the charging port and connectors are clean and dry before connecting the specified charger.
We instruct owners to allow at least an hour at room temperature after a temperature-related charging refusal. Wait longer if the battery is still cold; an elapsed hour alone does not establish that it is ready.
Charge in a dry, ventilated area, supervise charging, and disconnect when complete. Never bypass a battery's temperature protection.
8. Dress for Warmth, Visibility, and Control
Wear breathable layers with a wind-resistant, water-resistant outer layer. Protect your hands, feet, and ears, and choose gloves that let you operate the brakes and assist controls accurately.
Wear a properly fitted bicycle helmet. Any liner underneath should preserve its fit. Clear or lightly tinted eyewear can help shield your eyes from wind and spray without making a dim route harder to see.
Use front and rear lights in low visibility, and keep them clear of snow. Reflective details help others notice you after dark. Pack a spare layer for stops: clothing that feels warm while pedaling may be insufficient when you are standing still.
9. Remove Road Salt and Maintain the Drivetrain
Road salt, moisture, and grit can accelerate corrosion and wear. After a salty ride, remove buildup promptly using the cleaning method specified for your bike.

Clean the drivetrain and apply an appropriate chain lubricant, wiping away excess so it does not collect grit. Keep lubricant off brake pads and rotors. Inspect braking and shifting after winter rides, and arrange service if either becomes inconsistent.
10. Store the Bike and Battery Correctly Between Rides
Store the bike under shelter in a clean, dry place. An unheated garage may protect against snowfall while still being too cold for battery charging.
For extended storage, remove the battery where applicable and follow its temperature and charge-level instructions. Velotric's storage guidance recommends a dry, ventilated environment of 50–77°F (10–25°C) and a 60–80% charge level for long-term battery storage. Check it periodically and do not leave the charger connected.
Before the next ride, inspect tires, lights, battery attachment, brakes, and any accumulated ice around moving parts.
Considering an Electric Bike for Snow? Meet the Velotric Nomad 2X
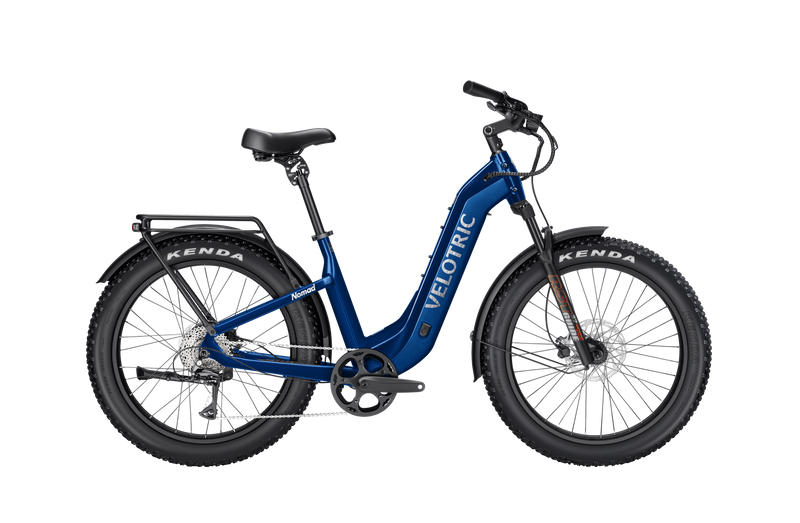
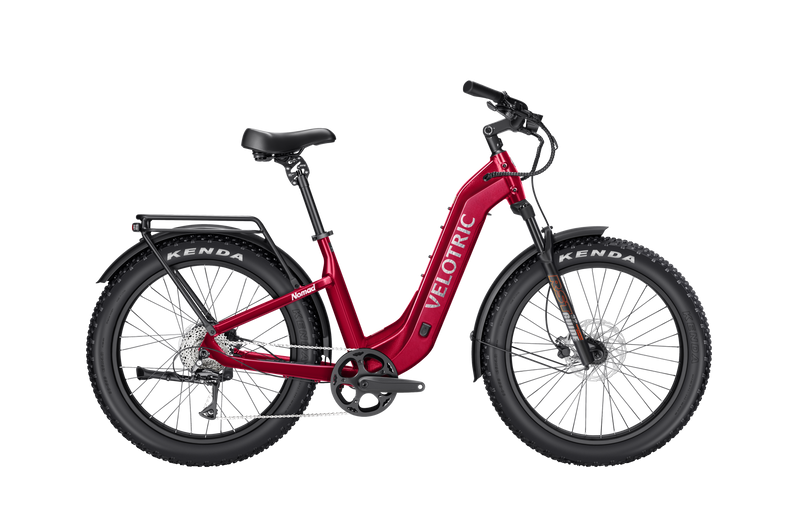
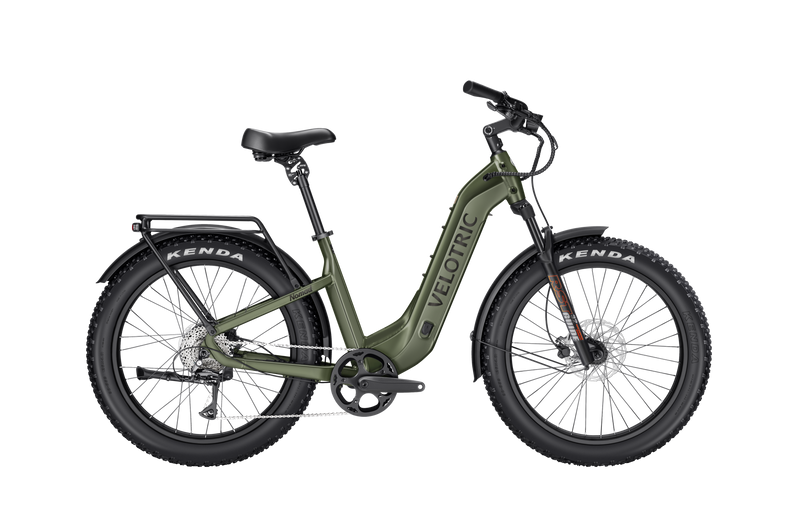
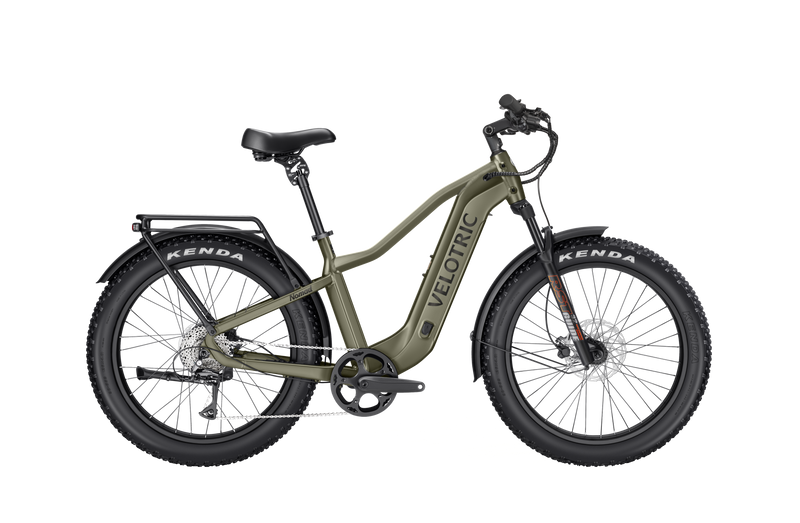
The Velotric Nomad 2X is a full-suspension fat tire ebike to consider for suitable winter routes. Its current specifications include:
- 26×4.0-inch tires: a wide footprint for loose surfaces; the stock tires are not studded ice tires.
- 750W motor, 1,400W peak power, and 105Nm torque: assistance for climbing and demanding terrain. Use low power when grip is limited.
- 120mm front air fork and 80mm rear wheel travel: cushioning over uneven surfaces.
- SensorSwap™: selectable torque and cadence sensing.
- Hydraulic disc brakes: braking performance still depends on tire traction.
- Up to 75 miles of pedal-assist range: a published test-condition figure, not a snow-range promise.
- UL 2849 and UL 2271 certifications, plus IPX6 bike and IPX7 battery ratings: these do not establish ice grip or permission to charge a cold battery.
Choose tires and settings for your route, follow the manual, and postpone riding when conditions exceed your experience. Find a Velotric dealer for fit and setup advice.
A Quick Checklist Before Cycling in Snow
- Check weather, surface conditions, and your return route.
- Confirm your bike's use and temperature limits.
- Check tire tread, pressure, and winter-tire compatibility.
- Test brakes, lights, steering, and battery attachment.
- Start with low assistance and allow extra stopping distance.
- Bring a charged phone, basic repair supplies, and an extra layer.
- Set a turnaround point before conditions or battery reserve become uncertain.
FAQs About Riding an Ebike in Snow
Can I ride an e-bike in the snow?
Yes, some ebikes can be ridden in manageable snow when the manufacturer permits the conditions and the rider has suitable tires and experience. Start on a short, predictable route. Postpone riding in deep snow, widespread ice, freezing rain, or poor visibility.
What are some tips for biking in the snow?
Choose tires for the surface, check pressure, use low assistance, and keep acceleration, braking, and steering gentle. Allow more stopping distance, plan a shorter route, and remove salt after the ride. Studded tires can improve ice grip, but difficult conditions may still require postponing the trip.
How to keep an ebike battery warm in winter while riding?
Start with a battery kept within its recommended storage temperature and install it shortly before departure. Keep trips shorter in severe cold. Use an insulating cover only if approved for your battery; avoid improvised heating. A warm start helps, but it does not eliminate cold-weather range loss.
What should I do for my first time riding an ebike?
Begin on a dry, flat, traffic-free surface. Check fit and learn the brakes, gears, assist levels, and throttle response if fitted. Practice controlled starts and stops with minimal assistance. Become comfortable in normal conditions before trying your first snow ride.
Is it safe to ride a bike in snow?
Safety depends on traction, visibility, equipment, and skill. Light snow on a firm surface can be more manageable than polished ice or deep ruts. Even a capable snow bicycle can slip. If you cannot steer, brake, or see reliably, choose another way to travel.
Which e-bike is best for cold weather?
The best choice matches your route and offers suitable tire options, controllable assistance, reliable brakes, effective lights, and clear battery-care instructions. A fat tire model such as the Nomad 2X is worth considering for suitable snowy routes, but no ebike makes every winter condition safe.